
Archive for April 2013
It was Late in the morning last year and we were scurrying to set up the displays for the October Kitakits of PinoyGundam, when suddenly- a wild Zaku appears! We first marveled seeing its photos in the page but lo and behold- we never expected to see it LIVE!
Enter Vanjo's Zaku II Custom work!


Zaku II type F
Gasha details:
-note that this was originally chrome colored rubber
-about an inch tall (excluding the base)
-hand-painted
-added terrain on the base
-don't mind the thumb :P
Simple terrain making steps:
-glue some foam on base
-spray it with some paint until it melts and turns into some rough texture for the base
-paint it with your desired color and texture


Terrain Details:


Zock


Gasha details:
-about an inch tall (excluding the base)
-hand-painted
-added terrain on the base
Simple terrain making steps (Aqua style)
-first your paint should be runny
-apply blue paint first
-while it's still wet apply a drop of white paint
-tilt the base as if you're controlling the ripples until you're satisfied with the look
-let it dry (well obviously lol)


Our next plasmate's alias immediately reminded me of my fave Batibot hymn as a kid. Pagmulat ng mata, langit nakatawa dun dunununnn..
And thats the closest you can get to a daily kid's show because that is where the similarity ends. PG's "Miko Matsing" or mikomats, is as pure a modeler as you can get, and his recent work will show us that his Age-1 Gransa is for the big leagues.
Awesome job by Miko. Cant wait to see the next wip.
Till next, Mismo!
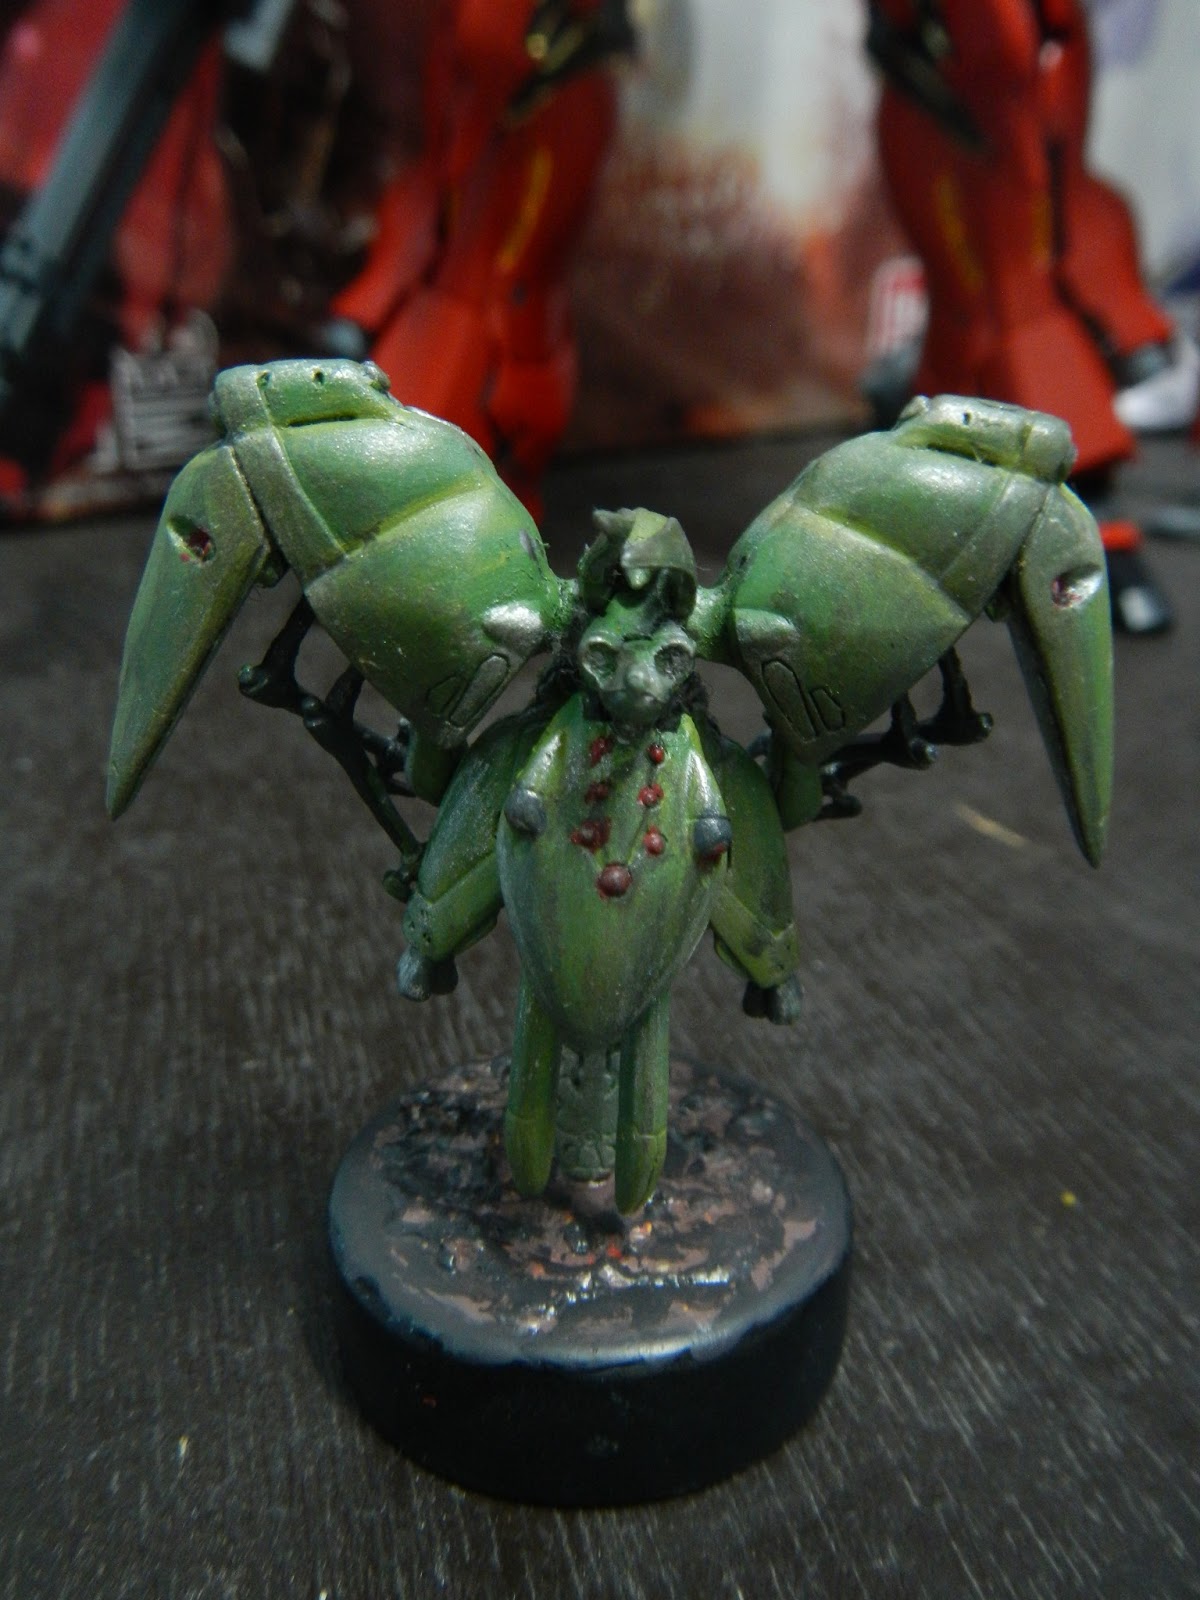
Neue-Ziel (German word meaning New Goal)
Gasha details:
-about 2 inches tall (excluding the base)
-hand-painted
-added terrain on the base
Simple terrain making steps:
-glue some foam on base
-spray it with some paint until it melts and turns into some rough texture for the base
-paint it with your desired color (in my terrain i used light brown first then overlay some parts with dark brown)


Here's the kit primed before painted


